I've been trying to show my AH pupils all of the experimental work for Unit 3 during this week, as it's the last week of the course before their NAB next week.
Having gone over much of the theory before Easter and encouraging them to cover the theory on Scholar, I set up a few of the interference experiments - Young's Slits with microwaves and using a He-Ne laser, which are both nice and obvious and relatively reliable (for physics demos). We took a few measurements and used them to find the wavelength for the microwaves and the slit separation, d, for the laser experiment.
We also used the travelling microscope to measure the slit separation, using a flexi-cam and projector to show both the view down the scope and the readings on the Vernier scale.
Optimistically, I decided to try the same set up for Thin Wedge Fringes and Newton's Rings - demos which are not so nice and not so obvious and, as I've found in the past, can be awkward to set up. Worse still, they must be observed through a microscope, ideally a travelling microscope to allow measurements of fringe spacing to be taken.
The thin wedge fringes worked pretty well and we measured the fringe spacing, using it to calculate the thickness of the wedge. And it all worked!
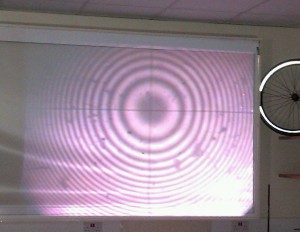
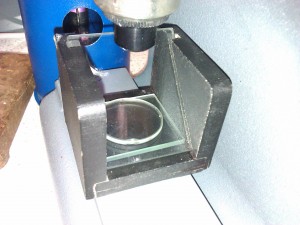
Continuing to ride my luck, I had a go at Newton's Rings, using our ancient, somewhat chipped Griffin apparatus. After setting it up, I had a look through the eyepiece and, to my very great surprise, saw the brightest, clearest Newton's Rings fringes I have ever seen.
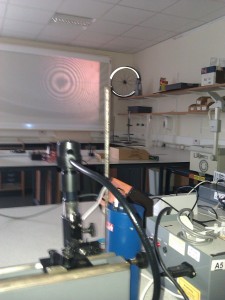
To my further surprise, it all looked great through the flexicam-projector, so much so that I took a picture and tweeted about what I'd been doing. One reply, from John Burk (@Occam98) asked how I'd set it up.
So, here goes.....
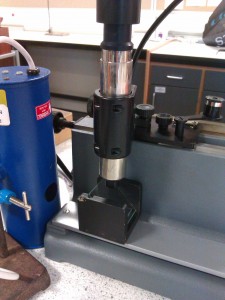
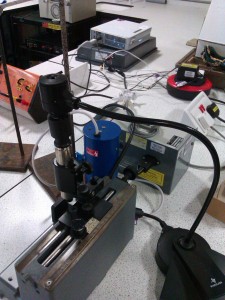
The images below show how the flexicam was connected to the travelling microscope, using a collar to align the camera and eyepiece lenses, and in turn connected, via the S-Video input, to a Sony LCD projector.
It's a very rare physics lesson where all of the experiments work, let alone first time. Luckily, when I needed to get through a lot of experiments to gather up the loose ends of the unit, that's exactly what happened. After all the effort of getting all the apparatus together and set up, getting such excellent images for Newtons' Rings was a great way to finish my lesson, and coincidentally the Advanced Higher course.
All downhill to the exam now.....
Thanks so much for posting this. I'll have to try setting this up myself.